
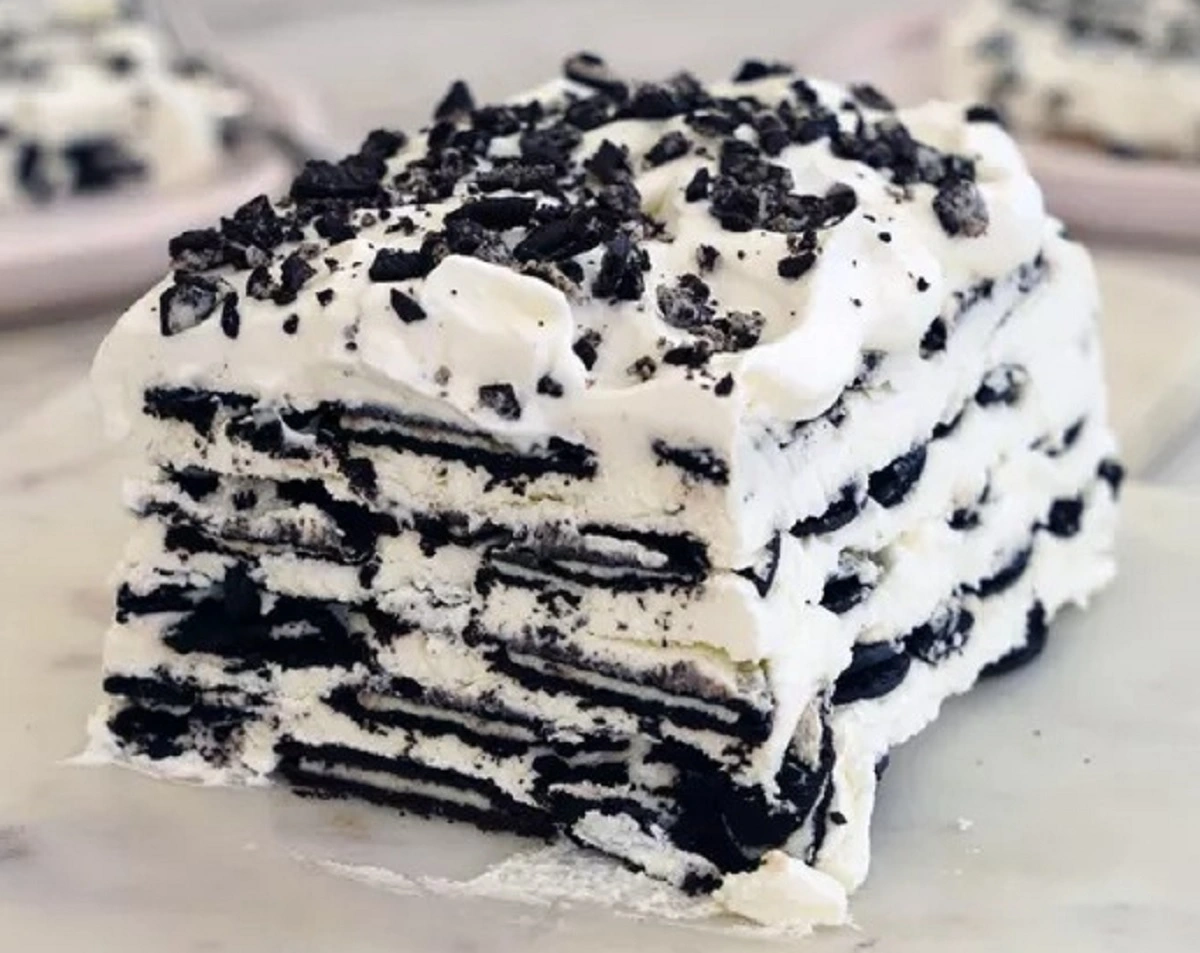
Welcome to our website, where we are thrilled to share our exclusive recipe for creating an incredible no-bake chocolate icebox cake that will tantalize your taste buds and impress your guests. This dessert is not only delicious but also incredibly easy to prepare. Follow our step-by-step instructions to create this culinary masterpiece and delight your loved ones.
The Ingredients
Before we begin, make sure to have all the necessary ingredients at hand. Here’s what you’ll need to make this delectable chocolate cake:
- 500g of chocolate cookies (or similar biscuits)
- 500ml of heavy cream
- 250g of high-quality dark chocolate
- 100g of powdered sugar
- 1 teaspoon of vanilla extract
- A pinch of salt
Step 1: Preparing the Cake Base
Let’s start by preparing the base of the cake. Take the chocolate cookies and finely crumble them into a large bowl. You can do this using a food processor or simply crush them by hand. Once the cookies are reduced to crumbs, add 100ml of heavy cream and mix well until you achieve a homogeneous consistency.
Step 2: Making the Chocolate Ganache
Now, let’s move on to preparing the delightful chocolate ganache. In a saucepan, heat the remaining 400ml of heavy cream over medium heat. Meanwhile, break the dark chocolate into pieces and place it in a separate bowl.
Once the cream is hot (but not boiling), pour it over the chocolate pieces. Let it sit for a moment to allow the chocolate to melt. Then, gently stir until the ganache becomes smooth and glossy.
Step 3: Incorporating the Ganache into the Biscuit Mixture
When the ganache is ready, pour it into the bowl containing the crumbled cookies. Add the powdered sugar, vanilla extract, and a pinch of salt. Carefully mix all the ingredients until they are thoroughly combined.
Step 4: Assembling the Cake
Now, it’s time to give shape to your no-bake chocolate icebox cake. Take a 22cm springform pan and line it with parchment paper. Pour the mixture of cookies and ganache into the pan, making sure to smooth the surface with a spatula.
Allow the cake to set in the refrigerator for at least 4 hours, or preferably overnight, to ensure it sets perfectly.
Step 5: The Finishing Touch
Once the cake has set, take it out of the refrigerator and gently remove the springform pan. Now, it’s time to add the finishing touch to your masterpiece. You can decorate it with chocolate shavings, fresh fruits, or even a generous layer of whipped cream.
Tips and Variations
- For a lighter version, you can replace the heavy cream with light whipped cream.
- If you enjoy fruits, feel free to add raspberries, strawberries, or banana slices between the layers of cookies and ganache.
- For an added crunch, you can also incorporate chopped nuts into the mixture.
Conclusion
Congratulations! You now have the secret recipe for a no-bake chocolate icebox cake that will be a hit on every occasion. Feel free to share this delicious recipe with your friends and family, so they too can savor this delightful dessert. So, put on your apron, follow our step-by-step instructions, and get ready to indulge in a mouthwatering treat. Bon appétit!
