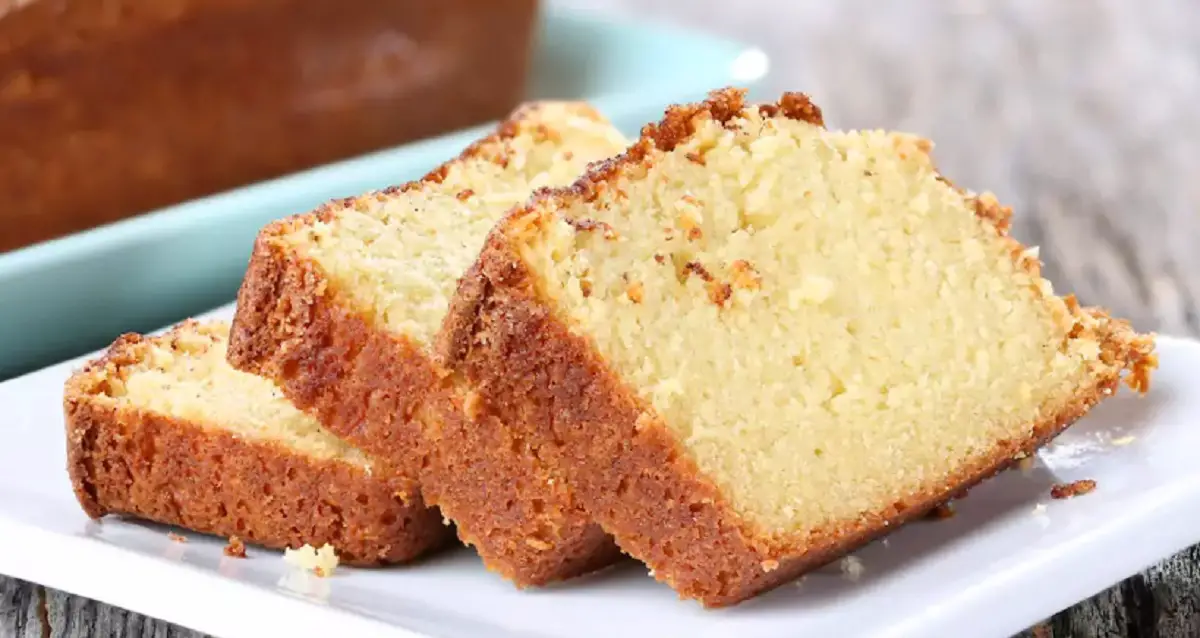
In this comprehensive guide, we’ll walk you through the step-by-step process of baking a mouthwatering Funfetti Layer Cake that will impress your guests and leave them craving for more. Our expert tips and detailed instructions will ensure your cake not only tastes divine but also helps you create lasting memories on special occasions.
Introduction
Are you ready to embark on a delightful baking journey? The Funfetti Layer Cake is a delightful treat that combines the rich flavors of vanilla and colorful sprinkles to add a touch of joy to your celebrations. Whether it’s a birthday, anniversary, or just a day you want to make extra special, this cake is a perfect choice.
The Magic of Homemade Cakes
There’s something magical about baking cakes from scratch. The love and effort poured into every ingredient create an unparalleled taste and texture that store-bought cakes can’t replicate. By following our guide, you’ll be able to create a cake that not only delights your taste buds but also fills your home with a tantalizing aroma.
Ingredients You’ll Need
To begin your baking adventure, gather the following ingredients:
- 2 cups all-purpose flour
- 2 teaspoons baking powder
- 1/2 teaspoon baking soda
- 1/2 teaspoon salt
- 3/4 cup unsalted butter, softened
- 1 and 1/2 cups granulated sugar
- 3 large eggs, at room temperature
- 2 teaspoons pure vanilla extract
- 1 cup whole milk, at room temperature
- 1/2 cup rainbow sprinkles
Step-by-Step Instructions
1. Preparing the Cake Pans
First, preheat your oven to 350°F (175°C) and grease three 8-inch round cake pans with butter. Dust the pans with flour and tap out any excess. This step ensures that your cakes will effortlessly come out of the pans later.
2. Sifting the Dry Ingredients
In a medium-sized bowl, whisk together the all-purpose flour, baking powder, baking soda, and salt. Sifting the dry ingredients together helps incorporate air, resulting in a lighter and fluffier cake.
3. Creaming the Butter and Sugar
In a large mixing bowl, cream the softened butter and granulated sugar until the mixture is light and fluffy. This step is crucial as it helps to incorporate air into the batter, which contributes to a tender crumb.
4. Adding the Eggs and Vanilla
Once the butter and sugar are creamed, add the eggs one at a time, mixing well after each addition. Then, stir in the pure vanilla extract, which enhances the cake’s flavor.
5. Alternating Dry and Wet Ingredients
Now, add the dry ingredients to the wet ingredients in three batches, alternating with the whole milk. Begin and end with the dry ingredients. Mix each addition until just combined, avoiding overmixing, which can lead to a dense cake.
6. Incorporating the Sprinkles
Gently fold in the rainbow sprinkles, distributing them evenly throughout the batter. The sprinkles not only add a pop of color but also a delightful texture to the cake.
7. Baking the Funfetti Layers
Divide the batter equally among the prepared cake pans. Smooth the tops with a spatula to ensure even baking. Bake in the preheated oven for approximately 22-25 minutes or until a toothpick inserted into the center of the cakes comes out clean.
8. Letting the Cakes Cool
Once baked, remove the cakes from the oven and let them cool in the pans for about 10 minutes. Then, transfer the cakes to a wire rack to cool completely before frosting.
Frosting and Assembling the Funfetti Layer Cake
1. Choosing the Perfect Frosting
A delicious Funfetti Layer Cake deserves an equally delightful frosting. While classic vanilla buttercream is a popular choice, you can also explore other options like cream cheese frosting or Swiss meringue buttercream. Choose the frosting that complements your taste preferences.
2. Frosting the Cake Layers
Place one cake layer on a cake stand or serving plate. Spread a generous amount of frosting evenly over the top. Repeat this process with the remaining layers.
3. Frosting the Sides
Next, frost the sides of the cake, working your way from the bottom up. Use a cake spatula to achieve a smooth finish.
4. Decorating with Extra Sprinkles
For an added touch of charm, decorate the top of the cake with extra sprinkles. You can even create a beautiful pattern or write a personalized message using the colorful sprinkles.
Serving and Storing Your Funfetti Masterpiece
Once your Funfetti Layer Cake is assembled and decorated, it’s time to indulge! Cut generous slices and serve on beautiful cake plates to showcase your creation. Any leftovers can be stored in an airtight container at room temperature for up to three days or refrigerated for up to a week.
Conclusion
Congratulations! You’ve just mastered the art of baking a scrumptious Funfetti Layer Cake that will leave everyone amazed. Remember, baking is as much about joy and creativity as it is about following instructions. So, don’t be afraid to add your personal touch and experiment with different flavors.
Let this Funfetti Layer Cake be the centerpiece of your celebrations, bringing happiness and sweetness to every moment shared with your loved ones. Happy baking!


